As an ASIAIR Plus Experience Officer, I feel it’s important to give back to the community. It’s why I have created so many posts on the ASAIR Pro/Plus Raspberry Pi models. From not only using the software but even developing a custom Kernel and porting over AstroBerry, INDIGO Sky, and Stellarmate to the ASIAIR Plus. So in that good to give back to the community vibe I share the following story with you.
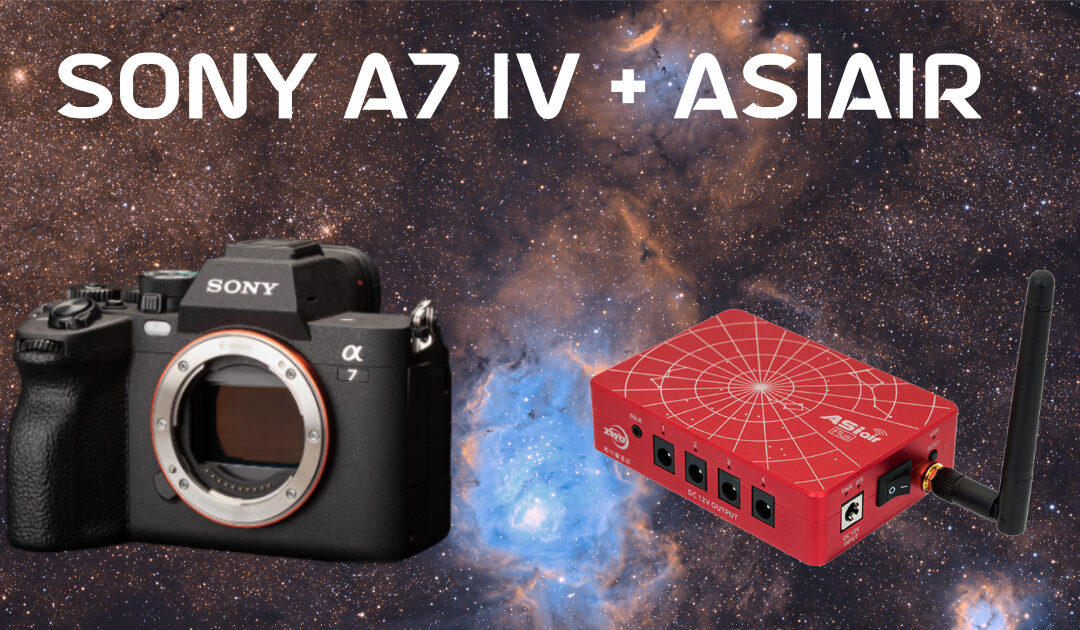
Ken, an amazing gentleman from the East Coast found me online and asked if I could assist him with getting his Sony A7 IV to work with his ASIAIR Plus. He purchased the ZWO AM5 and AAP from High Point Scientific. He has an open ticket with both HPS and also ZWO and it’s been nothing but crickets even though HPS told him the Sony A7 IV would work and ZWO states it’s a supported camera on their website. Ken was at his witts end and why he turned to the community and found me through some Google searches. I worked with him over email and sent him multiple links from ZWO including the following one
https://www.yuque.com/zwopkb/asiair/lf7nd44fruq3vukh
Sadly this does not work with the Sony A7 IV camera. Well, I shouldn’t say “not work”. Most of the settings are correct but it’s not all the settings you need to make it work which I will share with you in this article. Well after not having any success including sharing a video with Ken on the settings he trustingly sent me his $2300 Sony A7 IV camera and his ASIAIR Plus to see if I could get it to work.
Before we dive into the settings Ken and I sincerely hope this article will assist other Astrophotographers that are wanting to image with the Sony A7 IV using the ASAIR hardware. The bottom line is the stars are for everyone and while ZWO puts out amazing products their documentation is lacking along with their wiki which only allows for those in China to sign up to make changes to it.
So when the camera arrived safely (thanks FedEx) I did a full initialization of the Sony camera so I started with a completely defaulted setup and also reset the firmware on the AAP as well.
What do you need?
- A USB to USB C cable, make sure it’s a high-grade USB3 cable for faster speeds and is plugged into the USB3 port of the ASIAIR Plus. If you have a low-end USB cable the ASAIR software will show USB2 when connected or if you are using the ASIAIR Mini it only has USB2 ports. The problem with this is it will take much longer to transfer the files to the ASIAIR screen as the raw uncompressed images on the A7 IV are 84.2MB large!
- You will need the shutter cable, while it may work with just the USB cable I could not get it to work no matter what settings I messed with. And honestly, I was just happy I was able to get this to work for Ken as he is now able to enjoy imaging the skies above.
- Here is a video I did on the setup of both the camera and the ASIAIR software
Here is a breakdown of all the settings I changed with links to the Sony website on how to pull them up through the menu
SHOOTING
Image Quality: Uncompressed RAW. Set File Format as RAW and RAW File Type as RAW Uncompressed
https://helpguide.sony.net/ilc/2110/v1/en/contents/TP1000659396.html
Turned off Long Exposure NR
https://helpguide.sony.net/ilc/2110/v1/en/contents/TP1000656583.htm
Turned off APC-C S35
https://helpguide.sony.net/ilc/2110/v1/en/contents/TP1000616692.html
SETUP
USB Connection Mode PC Remote
https://helpguide.sony.net/ilc/2110/v1/en/contents/TP1000616544.html
USB LUN – Single
https://helpguide.sony.net/ilc/2110/v1/en/contents/TP1000616545.html
Turned off Power Savings
https://helpguide.sony.net/ilc/2110/v1/en/contents/TP1000660193.html
EXPOSURE
Zebra Display Off
https://helpguide.sony.net/ilc/2110/v1/en/contents/TP1000655353.html
NETWORK
Wi-Fi OFF
https://helpguide.sony.net/ilc/2110/v1/en/contents/TP1000954814.html
Select on Cam & Send RAW+J/H Send Target RAW
https://helpguide.sony.net/ilc/2110/v1/en/contents/TP1000659437.html
Well that’s all the magic! I hope this article was of some value to others out there! Best of luck and clear skies!