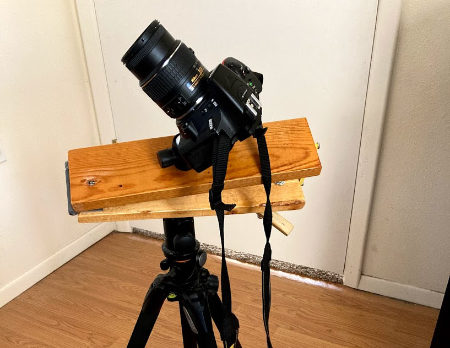
It’s been a while since I posted and a lot has happened since August 22nd. First off I have a barn door for shooting the stars. What is a barn door? Well, let’s make it simple and just link you away for more detail. If you didn’t click it’s basically a device that allows you to move with the axis of the earth so you can take long exposures of the stars at night without creating star trails. My Father-In-Law helped build the setup and it was very exciting to use and I was able to capture a handful of great shots! Here are a few of them below.
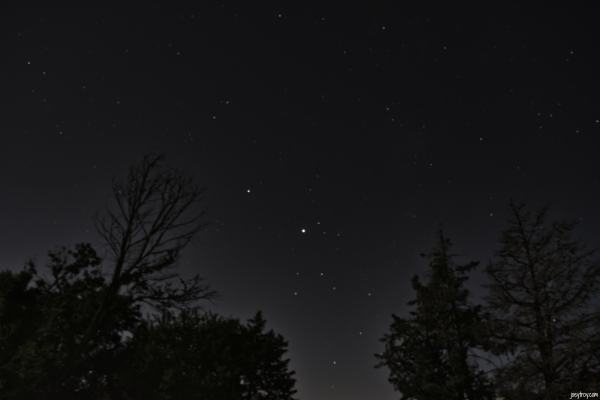
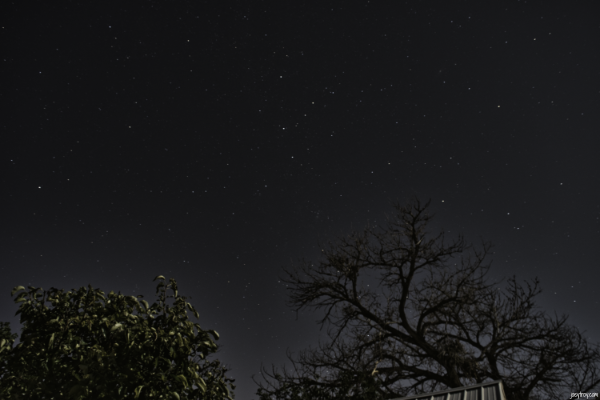
Both these photos show you the technique of using a barn door and let me tell you it’s no easy feat! First, you need to make sure to line up the Barn Door with Polaris for true polar alignment. Next, you need to rotate the drivebolt with the speed of the second hand of a clock so a full 360 rotation in one minute time. Oh, and while you are doing it with one hand the other hand is holding a remote shutter so you can expose for 1 minute as your camera only support 30-second exposures. Also why I was sitting down I was balancing my cell phone in my lap to watch the second hand of the digital clock.
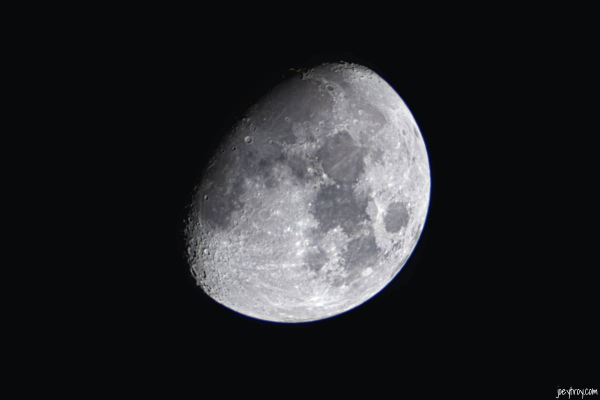
So was it worth it? Of course, it was! I was really happy with those pictures for my first attempt at using a Barn Door which drove me to my next challenge of stacking images. To explain stacking images in photography is you simply take multiple images of a subject and stack them to bring out more details. Because my Barn Door was designed for just a camera and lens I was not able to mount my Celestron Telescope on it so I did the next best thing and took 300 shots of the Moon and then after all these shots were taken I stacked them using PIPP to pick the very best photos and then AutoStakkert to create a single image. This type of stacking software allows you to stack multiple images of planets and the moon and it lines up all your pictures. See because I was not tracking, the moon was all over the place on each image in different areas of the image and AutoStakkert will bring all those images together into one final image shown below which was edited in Luminar 4.
Well now that I felt I had stacking down I decided to start to do another shot of the sky, again without tracking and my eyes went to M8 the Lagoon Nebula. With my telescope, I set up and did a total of almost 1400 shots at 1-second exposures, and yes you read that right…almost 1400 shots! When stacking pictures of Nebulas and Stars you also need to add images called Darks, Flats, and Bias images. There are more details on this and the software I used called DeepSkyStacker. After taking all these photos you then import the images into DeepSkyStaker to merge them into one single image. When it was all said and done it took roughly 8 hours of time to generate the image and once the image was completed I worked on stretching the image in Affinity Photo. Sadly most users use Photoshop to show tutorials of the stretching process and while I have found a few videos with users showing Affinity through the process it’s been a lot to comprehend for sure and I am still learning how to get better at post-processing. Here is my first try at modifying my image of M8
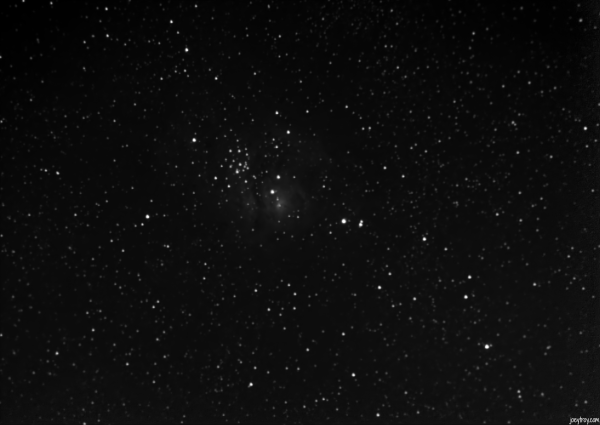
As you can see in the photo you get a good view of the stars but there is not a lot of detail on the Nebula. If you see other images online they are much more detailed as those photographers are able to expose the picture longer. After it was all said and done I basically had a 23-minute exposure of M8. For the more serious astrophotographer having the right gear which includes a star tracker and a quality Apochromatic Telescope they are able to take much longer exposures like 1-2 hours and those images are amazing to look at thanks to the better quality optics. I will be updating my blog again in the very near future as I too now have a star tracker and Apochromatic Telescope as well now!
Till next time…