PREFACE
My favorite forum I am on these days is Cloudy Nights (CN). It has a lot of fantastic people all working together to enjoy the stars and learn together. I mostly spend my time learning and helping where I can at the Beginning Deep Sky Imaging section. So what in the world is this Processing The Stars M31 all about? Well on CN user Borodog posted “Recommend your favorite stacking software that is NOT DSS” a lot of the fine people at CN chimed in with some great feedback on multiple applications you can use to process your Deep Sky Objects (DSO). I personally plant my flag in the PixInsight camp. My reasoning behind this is simple. The software is complex, but I don’t think it is any more complex than say learning Adobe Photoshop.
Now if you read the article and all the posts, PixInsight is not the only software available to users. However, while I have not tried all the different options (SiriL, Astroart 7, Sequator, Astro Pixel Processor, etc.) out there I did go to AstroBin and do a search for PixInsight. What you are going to find is a lot of images that users have posted using PixInsight, exactly 104,930 as of the time I started working on this post. If you spend time looking at these images you may see what I saw a few months ago, and say to your self “Self I want to be able to create something like that”. So I set out working on honing my skills and trying to create some great shots as others have created before me. Now before we jump into the whole tutorial I want to say my reasoning behind this tutorial is to share my experience with others so they too can create some Astro images and see that PixInsight, while can be a complex beast, can also be used very simply to end up with some solid images.
THE ASTROPHOTOGRAPHY RECIPE

Like all great cooks, you need to have a good recipe. Based on my current three months of experience I believe any can cook, or in our case, an Astrophotographer can create good, great, or even amazing astrophotography images. But to create good images you need good ingredients and in my humble opinion, the following is what I believe you need.
–You need to expose your DSO for 6-10 hours. Meaning long exposures with tracking, and multiple Light exposures
–You need to be able to dither with your mount to be able to help remove cold pixels, hot pixels, and artifacts
–You need to make sure your telescope is in focus throughout your session so your images will stack more clearly
–You will need Flats, Darks, and Bias images to help calibrate your final image to remove noise
I have found if you stick to this recipe and spend 6-10 hours capturing all your data the post-processing can be done rather quickly as you have more Signal to Noise. Now, like any recipe, if you are at different altitudes or using different pots and pans, the cooking time can be different. In the case of Astrophotography, Altitude = Bortle Scale and Pots and Pans = Your Astrophotography gear. So while this works for me you may need a little less time if you are shooting with a mono camera, or a little more time if you are Bortle Scale 5-9 and you may also need to use special filters to help block out light pollution. As I like to say YMMV (Your Mileage May Vary) as each cook or in this case each Astrophotographer will do it differently.
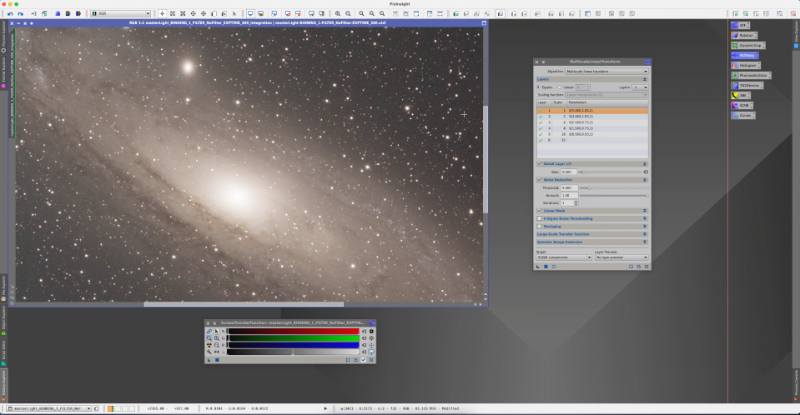
PIXINSIGHT TUTORIAL *UPDATED 01/22/2020
*This tutorial is designed for users with a DSLR camera, I am sure these steps will work with dedicated OSC (One-Shot Color) or mono cameras however there may be different options you will need to use in PixInsight. Due to this discrepancy, I have chosen to shoot M31 The Andromeda Galaxy from my current setup
- Scope: RedCat 51
- Mount: Sky-Watcher EQM-35 Pro
- Camera: Nikon D5500 (stock)
- Controller: ZWO ASI Air Pro
- Guide: ZWO 30mm · ZWO ASI120MM
- Focuser: ZWO EAF · DeepSkyDad Bracket
Now since your setup, maybe different than mine I went the extra mile and have released all the images I have taken with my mount under the Free Public Domain License so you can follow along and create your own flavor of M31 and share it with the world.
NOTE: Now because I am releasing this all under Public Domain you are more than welcome to take these files and work in any application you see fit. I just happen to love PixInsight so that is my app of choice and how I decided to share this tutorial. Hopefully, others will join in and do tutorials with the other applications listed above.
To get started we need the following things
- Make sure you have PixInsight installed on your computer. If you do not own PixInsight you can request a 45-day trial from the following link https://pixinsight.com/trial/index.html
- While I recorded this video on a Mac Mini you can still follow along on a Windows, or a Linux PC as the application works on multiple operating systems so don’t be put off by my Mac lol
- I am using PixInsight version 1.8.8-7 for this tutorial, it may be a little different and have different options if you are using an older or newer version of PixInsight
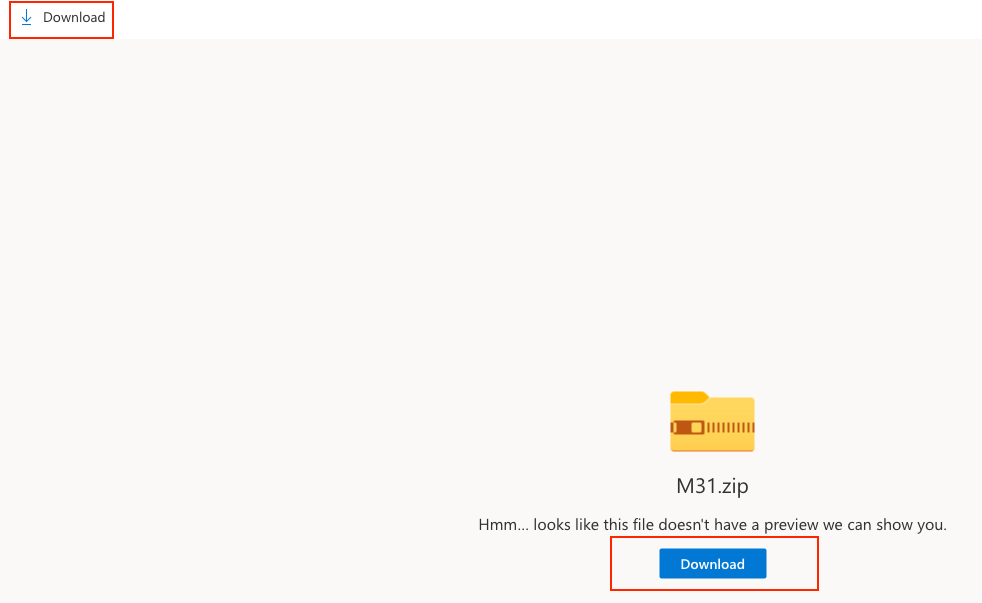
- Download the following zip file of M31 when you click on the link, click download on the left-hand side of your browser or download in the middle of the page
https://bit.ly/38gN5nA
Once you download the file you will want to unzip it. What is included in the zip is the following

Bias Folder: 20x1ms images
Dark Folder: 20x300s images
Flat Folder: 20x20ms images
Light Folder: 73x300s images
README – LICENSE: Details on the Free Public Domain License
icon_set.xpsm: Set of icons I use in PixInsight to process my images with my settings I use
I am currently reworking my video set as I had a lot of wrong data in the video. Here is a very in-depth process of using PixInsight Weighted Batch Preprocessing to get you started.